Club project - shop box

Club project - shop box

Friday 21 December 2012

Merry Christmas to you all!

I haven't done much about miniatures, except for embroidering the oriental rug. Preparations for Christmas with my two boys and work are taking all of my time. Loving it though!  They are both here and so far the eldest has shaved off the beard (yes, that's right the beard). Should I say thank goodness or stay quiet about it? Now it's just a question of getting him to a hairdressers and feeding him properly for a few weeks...

Meanwhile here is an update on the oriental style rug.

The sides are half way and the first branch is complete. The update on the 10th every month on the Yahoo Petitpointers group is keeping me going with the background stitching. There's nothing like a deadline, even if it is self imposed.  I'm still more or less on track for 400 hours of stitching. I'm hoping to finish up to the half way mark by the next Petitpointers update, and who knows I might even do that, because we all have so much time over Christmas, now don't we...  :))

Merry Christmas to you all and thank you for following my blog in 2012!


Tuesday 4 December 2012

The ...... Antiques shop?

I've agreed with a miniatures friend that it won't be called the boxfile anymore. Actually, I was told Not Ever to call it that again, or else... I should start treating it as the upmarket, really?, antiques shop it will eventually be. It still needs a name, though. Maybe once I get going on the outside, the name will suddenly reveal itself. Come to think of it, I've never done a project inside first, but this one just doesn't want to tell me what it wants to be on the outside.

The outside is giving me headaches! I took some photographs of the little garden corner I made last year. I still have some of the brick stuff left, and could give the antiques shop brick walls, but I also want to make steps up to the door, as it opens outwards, and that means it needs a pavement in front of the shop. The steps could be stone with railings on either side and the pavement brick, just like the village High Street here.  Too much brick, maybe?

Wall detail with Freda's clematis


The inside is more or less decorated, now it's paintings, and some small items on a few shelves, books, linen in the cupboard and weird stuff in boxes on the floor to make it into more of an antiques shop and of course, lamps, candles and wall sconces to complete the inside.
The tulip vase looks quite at home in here. 
I've just realised that I have a pot of tulips in the garden corner that I could try out in the tulip vase. Got to run, I'm off to play...

Happy mini time,  Idske


Tuesday 27 November 2012

Yeah, the tulip vase is fired!

Here it is, finally! I'm quite proud of my first major project!  I started this tulip vase back in May.

It's 12cm high (4.75"), more for a grand mansion than my Georgian townhouse, but that can't be helped and it will get a good place in my dollshouse. I'm planning another one, but probably with square pots, like the one I originally saw in the Rijksmuseum in Amsterdam.

I've also made some more tiles with a different type of clay, hoping to make them more uniform and easier to decorate. That's another project in progress.  It's a good thing to have several things on the go and at different stages in pottery, at least I'll be producing more to help fill up the kiln :).

Four of the other pots have also been fired ( all four in the photo of the boxfile below, one on the table and three on the floor). Several others went in with experimental glazes that haven't worked very well, these are going to be fired again. Two of those with a dark blue glaze, which somehow was pale grey-green and much too thin after the first firing. The other two are also blue and white.
All but the flat dish on the floor to the right, are mine!
I really like the two in the middle on the floor. They have a different glaze that is a bit whiter, if that makes sense. The Delft type glaze is ever so slightly yellow. All pots except for the Japanese one are earthenware.

Sunday 18 November 2012

Fabulously Small's give away

Fabulously Small has a give-away for reaching 100 followers!

http://fabulouslysmall.blogspot.co.uk/2012/11/yes-im-very-delighted-to-let-you-know.html

Monique's miniatures are just beautiful!

Thanks Ilona, I managed to get it just where I wanted it!                                                         ===>

On my own 'progress' the only news is that some of my pottery should be fired this Tuesday! Other than that I'm doing lots of embroidery (the oriental rug) and lots of 'research'. It's really just spending oodles of time on other blogs/websites, haha.

We had a lovely autumn day here, it was lovely and sunny for a walk near Mayfield in East Sussex!
Aren't they lovely barns, never seen anyone here, but there are a few horses..
Just a beautiful play of light on an old wall
Lots of mud before getting to the gate!

Hope to have some mini-stuff to talk about next time :)
Idske

Tuesday 6 November 2012

Tulipvase progress

Finished decorating the tulipvase, all that's left to do is glazing and firing. I'll glaze it next week and then it's waiting for the kiln to be filled. As Yolande, the pottery teacher, is producing a lot for Christmas, I probably won't have wait too long.

And another pot was fired, I expected it to be olive green, but apparently I had the wrong glaze. As the blue and white is black when you paint it, glaze is mostly greyish, white with a hint of blue or green or just murky. I still like it!
The glaze has bubbled on the inside of this pot, which is about 1 inch diameter. Just trying to decide whether it is a plant pot or a pot for the kitchen....

Idske

Sunday 4 November 2012

Apeldoorn 2012!

I went to the Apeldoorn Show last Sunday. It was quite a last minute decision as I didn't arrive in the Netherlands until Saturday 6pm after a -thankfully- uneventful drive. It took quite some time to have a look at all on offer at the show. There were some stalls with seriously beautiful furniture, porcelain and glass, awe inspiring!  

A lovely potter, Cocky Wildschut was kind enough to talk to me about her porcelain techniques and give me some tips to take back to my class. I also bought this lovely blue and white dish from her! 


I didn't stop there, though..
The next item was the glass decanter, unfortunately I forgot the name of the maker. His glass was just beautiful and I had to keep in mind what I wanted for my house, because I could have really gone overboard and bought lots of glass.
In front of the boxfile, which really needs a new name, are all of my goodies from Apeldoorn. Lots of jewellery findings for making lamp shades, candle holders, picture frames and anything else I can think of for the boxfile shop, some 'linden' wood (lime wood?) and small clamps, as you can never have enough clamps when making miniature furniture! :)

The Apeldoorn October 2012 Show

Happy mini-time!  Idske


Sunday 21 October 2012

Lights in the window...

Finally I've made a little bit of progress on the boxfile. The LED lights are in and the candles are on the ledge behind the door. IThe door opens out as it couldn't be opened more than about quarter way the other way round, so even a very small person couldn't possibly walk through. Rather than change the box, the easy way out was reversing the door! It does mean that there need to be steps up to the door...

The candles will be powered from an old telephone charger directly behind the wall, it will also power another 2 wall lights on the left hand side wall and possibly a ceiling light.
You probably can't tell all that well that the LED lights are on, but I'm sure once there is something in the window it will be perfect.
The battery holder is hidden under the window sill, held there with a small bit of wood. The switch is in the far window frame and will be hidden behind a strip of fabric. The gap above the bit of wood is wide enough to pull the battery holder out to change the battery.
With the battery holder covered up (sort of). I still need something to finish off the LED lights as they look wrong when they aren't on - they're yellow. The washers I have are about 1cm diameter and that is way too big. The LEDs are less than 2mm square. I like them as spotlights in the window though!

Happy mini-time,   Idske


Wednesday 17 October 2012

Finished? ...

Just an update on the tulip vase. I've added all of the spouts and scrolls and a skirt just above the feet. Not so sure about the top on the photo, could be the angle, as I was really please with it when I left the pottery class. If I still don't like it next week I can still just make another one or two.
sorry about the quality it's from my phone as the normal camera ran out of battery !
 There are examples of these tops with obelisks, heads/busts, very short stoppers or another minute pot for a single flower. I might just make a few to see what works best...

Idske

Thursday 11 October 2012

Tulip vase and embroidery

In the previous post, I forgot to ask if anyone knows whether to fire the little pots separately or join them all up now and fire as one. There are lots of holes in it, so that doesn't have to be the deciding factor and I can't think of what is.  Does anyone have any idea?


Elga, you were right, all this ivory background on the Japanese style rug is sooooo boring.  I can only cope with about half an hour per evening, but even so I will eventually get there, haha...  It's very tempting to just do the edges and the branches in the middle. But the thought of then only being left with all of this ivory background stitching, keeps me on track.

Tomorrow I'll be taking it to our knitting circle - where only a few of us actually knit, others embroider, crochet, quilt, any sort of craft will do, that and a willingness to talk about just about anything, whilst eating cakes and drinking tea, hot chocolate or cappucinos.  I've taken part finished miniature luggage along before and no-one thought anything of it!  Lots of suggestions for improvements, though, including some ludicrous ones!


The hunting scene is nearly finished and then I'll be making the frame for it, either in mahogany or walnut, that is, when I have the time for it....


Happy mini-time,    Idske

Tuesday 9 October 2012

Tulip vase or Tulip vases?

I've just come back from the pottery class completely exhausted, but reasonably happy with the result. No glazing as yet as that is done just before there is a firing and let's face it my little pots aren't going to decide when that is!

Remember this?


Is  now this..


I suppose it's about half way, as it still needs the spouts on the top pot, some decoration on the base of the obelisk so it will stay in place and scrolls on the corners of the base pot, probably a touch bigger that the one I tried out on the left hand corner. You'll have to enlarge the photo to see it. I have to keep reminding myself that it will shrink about 10-15% on the first firing.

Happy mini-time,   Idske

Tuesday 2 October 2012

Bisque firing and slip casting

The pottery class was great as usual, lots of talk about this and that and everybody working on their own pieces. This is the result of the bisque firing of the little pots I made on the potters wheel a couple of weeks ago. 

The rather big one at the front is a failure that has been fired anyway to be a tester for glazes. It is not only far too big, but it has also sagged around the base so it looks a bit like a beer belly over a very tight belt.  In short it looks weird.  The rest I'm quite proud of, as most of them are actually round and you have no idea how difficult it is to keep them that way after they are off the wheel!   I will be glazing some of them and decorating a few for the Japanese room.

Then came slip casting with the moulds for the tulip vase. These are the resulting pots on top of the moulds, they still need a lot of work before I can stack them.  The biggest pot on the left is by far the best shape.


The photo below shows the way a mould is supposed to drain into the pot of slip clay. That just didn't happen and it was quite a job to get the slip drained. 
Doesn't look like much but there really is a square base pot in this mould!
I will be casting another lot of pots using more diluted slip and enlarging the hole in the mould to make it drain better. The tops of the pots need bigger holes anyway to stack them properly.  That will then give me a few versions to experiment with. Then again, I might totally change my mind and keep them all as separate pots, who knows?

Happy mini-time,  Idske xx


Monday 1 October 2012

New rug!

I haven't embroidered a rug for a few years, or even more than a few years... But I've started the Japanese style rug. I'm not sure why it's on it's side, but that's blogger for you or my lack of a wish to fight it...

I changed my mind about the blue and started again, unpicking was just not an option and I still have plenty of this fabric. This colour combination is much better! Working top down from left to right works for me to avoid handling the cream background too much.


And then I started the branch in the top right hand corner. Is it too dark? It's still easy to remove, but I need to decide before I go much further. . .
Decisions, decisions...

So far approx 3700 cross stitches in 32.5 hours on 32 count fabric, finished size 15x20cm. Without too much unpicking, it should take about 400 hours, I wonder over how many months... 

Happy mini-time,   Idske


Wednesday 19 September 2012

Pottery class


Just some photos of pottery class (taken by pottery teacher Yolande Beer)


to prove it was me making the mess,
the clay next to the water pot is the
remains of failed pots
Very messy!
These small tools are just great to work with in this scale!
I really enjoyed last night's class and Yolande's encouragement when things fail miserably is essential! Next week I'll tidy up the bottom of the pots and then they can dry out and I can start thinking about decorating them.

I might also get to try slip casting from the moulds I made before the summer holidays...

Idske

Monday 17 September 2012

Fine tuning the pattern

Just a bit better?
It's not really this blueish, the background is cream. This is already the third lot of photos, with extra light, with flash, without, nothing seems to help. Still I think you can see the bamboo style border and the removal of the contour stitching around the flowers, oh and the removal of 2 of the branches and it's now reduced to 6 colours, 2 blue or green or pink or yellow, the cream background and 2 browns and a golden light brown.

It all makes it a bit softer and hopefully an early 20th century Western interpretation of Japanese style. It is now 185x245 stitches, 45325 in total, which should be about 15.6x20.7cm (6.14"x8.14").


I'll try a daytime photo later (it's almost midnight now) to see if I can improve the colour.

Night-night,   Idske

Sunday 16 September 2012

Japanese room

My ideas for the Japanese room are taking shape. There will be panels with the cranes on the walls all around the room and I'll change the colour of the walls to a pale blue and darker blue around the panels - still working on the right look....

As I was looking for the next embroidery project, as the hunting scene is almost finished, I have spent ages figuring out a Japanese style pattern, having looked at loads of examples on Google images. I have used KG-Chart LE (freeware).

It is a bit big on the 30ct fabric I have. It is 200x270 stitches which totals 54000 stitches and would be about 17x23cm. It would almost fill the entire room, which has a very pretty parquet floor that I don't want to cover up entirely. Also it might be too busy with the 4 branches on it, not very Japanese, I think, so I'm going to reduce it in size and reduce it to 2 branches, even though it took many hours to make the 4 branches look right. Not to mention how many hours it would take to embroider it all!

Any comments are welcome, as well as suggestions on colours. I ended up with blues because of the crane wall panels with blue background.  I have tried it in greens/browns, but the software has only very small blocks of colour to choose from and I couldn't get it right. They are all DMC colours. I might also try it in creams/golds/whites and a hint of pink on the flowers?  

Better to get it right on the pattern than having to unpick it!

Happy mini-ing!   Idske


Tuesday 4 September 2012

End of the holidays

A few days ago, as I had some time left over after visiting family in the Netherlands, I took my son to The Hague to try and find a paper shop at Noordeinde 186. I found their website a while ago via a blog on another blog on another blog- you know how that happens - (and sorry, I don't remember which one), called  www.papier-royaal.nl. They have the most beautiful papers for miniatures. We very nearly missed it as it is on a very busy street in the middle of town and of course, the stuff in the windows was entirely different, it looked very much like a stationery shop. Also, the name on the shop is Damen, not Papier Royaal...

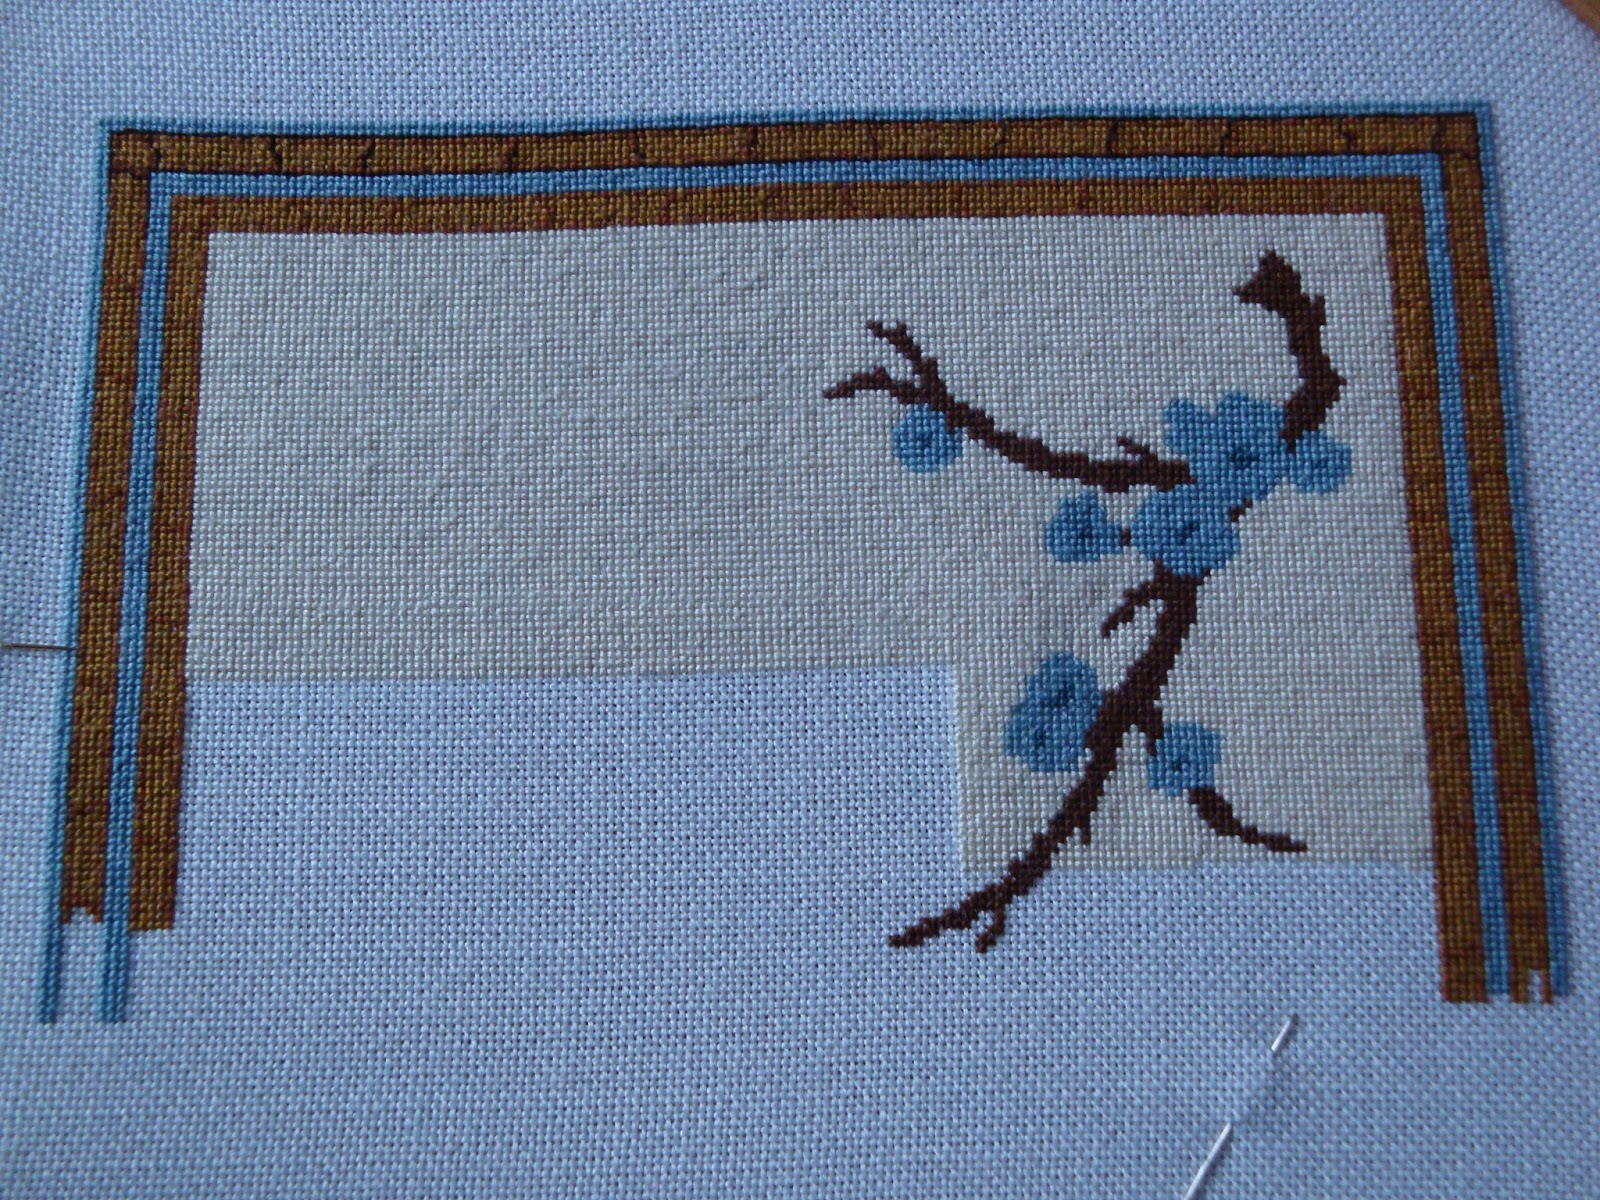
I bought the blue cranes: 'Kraan blauw' number 3jpp830 in the Japanese Chiogami section and I plan to make panels for the room with the green walls. I didn't realise that I could have bought half a sheet, which would also have been plenty. At least this way, I can afford to make a few mistakes.  The room does really need some other Japanese style items, but I'll decide on those when I've made the panels and know how to balance the whole room...

I very nearly also bought an Art Nouveau paper, but thought that that would be a bit too much because I only have one bedroom left that is in need of ideas. This bedroom is directly above the Japanese style room. I can always change my mind as I now know that many (but definitely not all) of their papers are suitable for miniatures and I can always visit again if I need to!

My sister gave me these brass items; the chandelier actually had real candles, but they've unfortunately gone missing. The chandelier is about 6 cm high x 7.5 cm across (2.5"x 3"). It's a bit too big for 1/12th scale, but I'll think of something to do with it. I'd really like to know how old it is. It's solid brass, so I can't electrify it and perhaps I shouldn't even think about that, as it is at least 50 years old.

The other item is a very small oil lamp, sadly without a glass. It is about 8.5cm tall (3.25") and has a hook for attaching it to something, assuming that they belong together... Could this have been for in a carriage, as in 'horse and carriage'? And what would the shape of the glass have been? 

If anyone knows anything about it, please let me know....


Sunday 12 August 2012

Boxfile project

It's the middle of the holidays and I have been busy with miniatures! It's just not for the dollshouse (that might also give you an idea of why it is taking so long to fill my dollshouse).

Thankfully I'm not the only one of the club that couldn't deal with only 7cm depth and we've both added an extension in the form of another boxfile. The closed part is for the transformer and for storing items for transporting the box, accessible from the back.  It also makes it a lot more stable and it now doesn't require a base plate. 


 2 old box files with plastic and metal parts removed
The lids were taken off, the bottom of the front box is cut out to the middle and then just enough further to the right to form the angled wall by bending it backwards after scoring it on the back, the boxes were then taped together (no ideas yet for the outside of the box...)
Left and back removable walls to allow for wiring

Walls, floor and ceilings in place 

The inside of the shopfront
Current plan is to make it into a furniture/antiques shop. It's a bit too new to fit the bill just yet, but the idea is taking shape. The door and window were bought 'in bulk' for the members of our club. It should be just about big enough to fit the Dutch cupboard, a revolving bookcase, a smaller walnut cupboard I'm still working on, a chair, a tilt top table and if I have enough time a stand for etchings and drawings to browse through. Most of the furniture I've already made for my own dollshouse but the challenge for me is dressing it so that it looks like a proper shop, not a random collection of furniture...

It will also have about 5 or 6 lights (including 2 candle sticks) and LED lights as down lighters in the window. Easier to hide in/on something as thin and flat as the top of a box file!

Lots of work still to do and I'm loving it!

Sunday 15 July 2012

Embroidery


I joined the Petitpointers yahoo group and I feel quite at home there! I have embroidered as long as I can remember, probably starting in primary school aged about 7 or 8. Neither of my sisters understood it, but I just loved it.

This was my last ever effort in full scale. 136 colours, 36 count, about 20"x16" (50x40cm)


Then when I put my dollshouse together over 20 years ago now, I needed rugs for the rather bare rooms.

The first one, probably from the P&M magazine early 1990s, 17x20cm
For the hallway 9x13cm

Afghan rug for the bedroom 11x14cm


Baluchi carpet for the dining room 13x17cm

All of the rugs except the first one are from the patterns in Making Miniature Oriental Carpets and Rugs by Meik and Ian McNaughton from 1998.

I much prefer working in silk (DMC mostly) on 36 or higher count and the patterns were for 24 count. I just added more blocks in the middle. That does mean that the edges need to be modified too and you have to work from the corners to the middle. The dining room rug pattern was for 2x3 blocks (the octagons) and I needed 4x5 to make the right kind of impact in the room. 

P&M magazine oct/nov 2002! Started it in 2007 or 2008 though!
The latest one is the hunting scene for the firescreen. I've got the wood, now I just need to get all the machinery out (table saw, scroll saw and lathe, hurray I love my tools!) and cut it all and turn the post. This project is spread over 4 pages, and the only part about the embroidery is the pattern and the last paragraph, which also includes how to fit it into the screen! It really assumes you know what you're doing. A nice project to finish in the summer holidays starting Friday 20th July!